How reliable is my data analysis software?
Surface measurement instruments can be calibrated using physical reference specimens. But how does one go about verifying the accuracy of surface analysis software? Here are some answers.
1. I know how to calibrate my instrument, but how can I verify my analysis software?
Profilometers can be verified and adjusted by measuring physical representations of known surface texture for which profile parameters have been certified. Measurement is performed by accredited laboratories. Standards such as ISO 5436-1 and ISO 12179 provide guidance for this task.
You may verify analysis software packages using softgauges which are known profile or surface data files, either mathematically generated or measured by an instrument. The ISO 5436-2 standard defines a file format (.SMD) that can be used by National Metrology Institutes (NMIs) to provide reference profiles together with certified parameter values. Other standard formats are sometimes used, such as .SDF or .X3P. MountainsMap® users can load such files, calculate parameters and compare them with reference values stored in the file.
Another way is to compare values calculated by your software on a reference profile with values given by reference software on the same profile (see question 3).

2. When I calculate profile parameters with MountainsMap® and with my instrument software, I get different results. Which are correct?
Comparing two surface analysis software packages or one commercial package with reference software from a NMI is not as straightforward as it seems.
Each software package uses its own set of default preferences which makes it difficult to compare things in the same context, i.e. using the same filtration conditions.
In particular, users should make sure that the following points are configured the same way in both packages:
λs filter
Leveling or form removal (association method)
Roughness or waviness λc filter
Compatibility with non-measured points. Are they excluded, interpolated or not managed at all?
Number of cut-offs removed in the running-in and running-out. ½ or 1 cut-off? Or are end-effects managed according to ISO 16610-28?
Number of sampling lengths used to average parameters. Or are the parameters calculated on the evaluation length?
Reference according to which parameters are calculated. ISO 4287:1996, ISO 4287:1984, ISO 4287 Amendment 1, VDA 2006 or B46.1? This is particularly important for certain parameters such as Rz, RPc, Rc or RSm.
These points can usually be configured via software preferences, but depending on your package you may not be able to change them all.
Bear in mind that if the context is not the same, then the comparison is meaningless! Similar considerations also apply to surfaces and areal parameters.
3. Are there any official references to rely on if I want to verify my commercial software package?
Yes and no!
Yes, as some NMIs offer reference software or provide reference profiles and reference values.
PTB in Germany offers online reference software for profiles, with the ability to load profiles, select the form removal operation and filtration conditions. It displays calculated values for ISO 4287 and ISO 13565-2 parameters.
NPL in the UK has a website where a set of profiles can be downloaded and the corresponding parameters values are given. Only the main profile parameters of ISO 4287 are given. Another page allows the user to download reference software which calculates areal parameters.
NIST in the USA also has online reference software for profiles, with the possibility to upload a profile and calculate parameters or download one of the profiles from their database and check values.
No, because as stated earlier, if you compare these three "reference software" packages on the same profile, using the default configuration, you will obtain three different sets of values!
A much better result is obtained by carefully checking preferences, as explained in the answer to question 2.
However, the issue with preferences aside, the main reason you will obtain different values is that the standard itself is interpreted differently by different NMIs. For example, the vertical discrimination used in RSm may not always be the same (some use +/- 5% of Rz, others +/- 10%). On this particular parameter, NPL uses the "corrected algorithm" whereas PTB and NIST stick strictly to the ISO 4287 definition. This underlines the need for an updated profile standard (see the previous Surface Metrology Q&A in our Fall 2015 issue).
4. A few final thoughts...
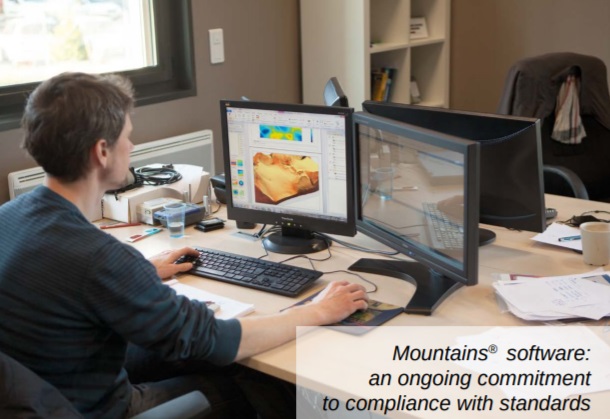
MountainsMap® is constantly checked by our team of developers and metrologists to ensure the algorithms it contains are correctly implemented and optimized. Each change made to the code is rigorously tested to prevent regressions and allow the developers to correct any mistakes immediately. Thousands of automatic tests are carried out by our servers on a daily basis and our testing team actively verifies each version before releasing it publicly.
Digital Surf also works in close cooperation with NPL, PTB and other leading research laboratories to carefully check parameters and filters, understand mathematics and find solutions to unsolved questions. International standards do not cover everything and sometimes intermediate decisions have to be made.

Digital Surf's experts are heavily involved in this process, working with other professionals to reach these decisions which then provide the basis for improving standards. We also continue to play an active role in international standardization committees such as ISO TC213/WG16 and WG15.
Mountains® is adopted by almost all instrument manufacturers as their platform for profile and areal surface texture analysis. Digital Surf does not shy from the responsibility this implies. Users and manufacturers can rest assured knowing Mountains® technology is trusted for its accuracy as well as its compliance with the very latest standards.
Key points
Checking parameter values with reference software requires good knowledge of filtration conditions to ensure comparability.
Users may change filtration and calculation conditions (in Preferences) to ensure results are comparable with reference software.
Digital Surf invests heavily to constantly improve software quality and compliance with standards.