Introduction to Surface Texture
Since the first roughness meters appeared at the beginning of the 1930s, the measurement of surface texture has been based on 2D profilometry and contact gauges, at least until the last three decades. One had to wait until the beginning of the 1980s to see the appearance of instruments for measuring surface areas, such as white light interferometers and 3D profilometers [WHITEHOUSE 2011]. The first tools for analysing measurements generated by these instruments were developed by each manufacturer, often extrapolating from existing tools for 2D profilometry. It was only when research programmes were initiated in Europe that we saw the beginning of the rationalization and formalization of these tools.
Today, ISO published two series of international standards (ISO 25178 and ISO 16610) that form a toolbox and a guide for the specification and analysis of areal surface texture. A series of video courses about surface metrology is available as a complement to these pages: ![]() Surface metrology courses
Surface metrology courses
Surface texture mainly contains the roughness and waviness components, as well as form deviation and micro-roughness. Some call it surface finish but this term essentally refers to the roughness only. Americans often mention surface lay which refers to the orientation of the texture. The expression Surface topography usually includes also the form, and is used in the context of areal surface analysis and areal instruments. Surface texture specifications are noted on drawings using the root symbol (see Indication of tolerances on drawings).
1. Areal surface texture: the Research and Development phase
The first important work on 3D surface texture was carried out by a European programme, led by Pr K. Stout from Birmingham university. This programme, which took place between 1990 and 1993, ended with the publication of the famous Blue Book, and the definition of the so-called Birmingham 14 parameters [STOUT 1993]. The final report served as a reference for almost all instrument manufacturers during the 90s.
Following this programme, technical committee TC57, that was later replaced by TC213, in charge of ISO standards for surface texture, realized that although it was time to start standardization work on 3D surface texture, some extra research work was still needed to determine the stability of 3D parameters and their correlation with the functional criteria used by industry. They also wanted to cover instruments specifications as well as their calibration. The research work was then subcontracted to another European programme, called SurfStand.
This programme was carried out between 1998 and 2001, by a consortium of universities and industrial partners, led by Pr. L. Blunt. It ended with the publication of the Green Book [BLUNT 2003]. The deliverables also contained a proposed structure for the forthcoming ISO standards. The programme results were presented to ISO in January 2002, during the Madrid meeting, and officially transferred to the TC213, in order to start the standardization process.


2. Towards a complete rework of all surface texture standards
In June 2002, the TC213 voted the creation of a new working group [TC213/N499] and assigned it the task of developing future international standards for areal surface texture. This group met for the first time in January 2003, in Cancun. The architecture of the new standard was designed and described in a master plan, and the content of several fundamental documents was drafted, based upon the results of the SurfStand program. Towards the end of 2005, the ISO secretary allocated the number ISO 25178 to this areal surface texture standard, thereby giving the standard its official birth.
The task allocated to WG16 for the development of ISO 25178, contained two parts:
- to define the content of the areal surface texture standard, for specification and verification;
- to revise the existing profile standards to bring them into line with the new areal standard.
In the first period, all efforts were put into the definition of the areal standard, in order to create a consistent set of definitions and concepts, founded upon a solid mathematical base, without taking existing standards into account. The basic premise is that Nature is intrinsically tridimensional and that surface texture should be defined in 3D first, and as a consequence, 2D profilometry should be derived from this definition as a simplified model. This is the opposite of what happened before, when the first areal parameters were extrapolated from existing profile parameters.
Starting by areal surface texture parameters should avoid the known drawbacks of some 2D parameters and provide a more rigorous definition of several concepts that have been used in existing standards for twenty years. Nevertheless, this should also create some differences between the new concepts and the existing ones that are in use in industry.
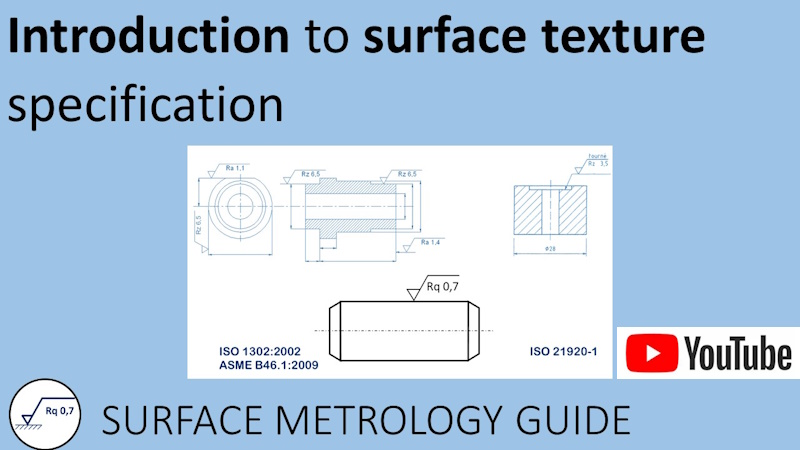
Introduction to surface texture specification and verification
This video introduces the reasons why surface texture is specified and verified on engineered products, and gives the basic concepts you should know before using surface texture analysis. Duration: 10 min 58.
See also:
